Long talking videos are mostly pauses: the breath before an answer, the gap while you find the next slide, the ten seconds of fiddling with a microphone. Cutting those by hand means scrubbing the waveform and razoring every gap. This guide does it in one pass with Kutmo, which runs in your browser, and hands the result to your editor as a ready-made timeline.
What you need
- A video file: .mp4, .mov, .webm or .mkv. H.264 MP4 works most reliably.
- A desktop browser. Chrome or Edge are fastest.
- Premiere Pro 24+, DaVinci Resolve 18+, Final Cut Pro 10.6+, or an editor that reads EDLs. No editor? Kutmo can save a trimmed MP4 instead.
Your first 2 runs need no account, and a free account adds 5 more. The video stays on your computer the whole time; nothing is uploaded.
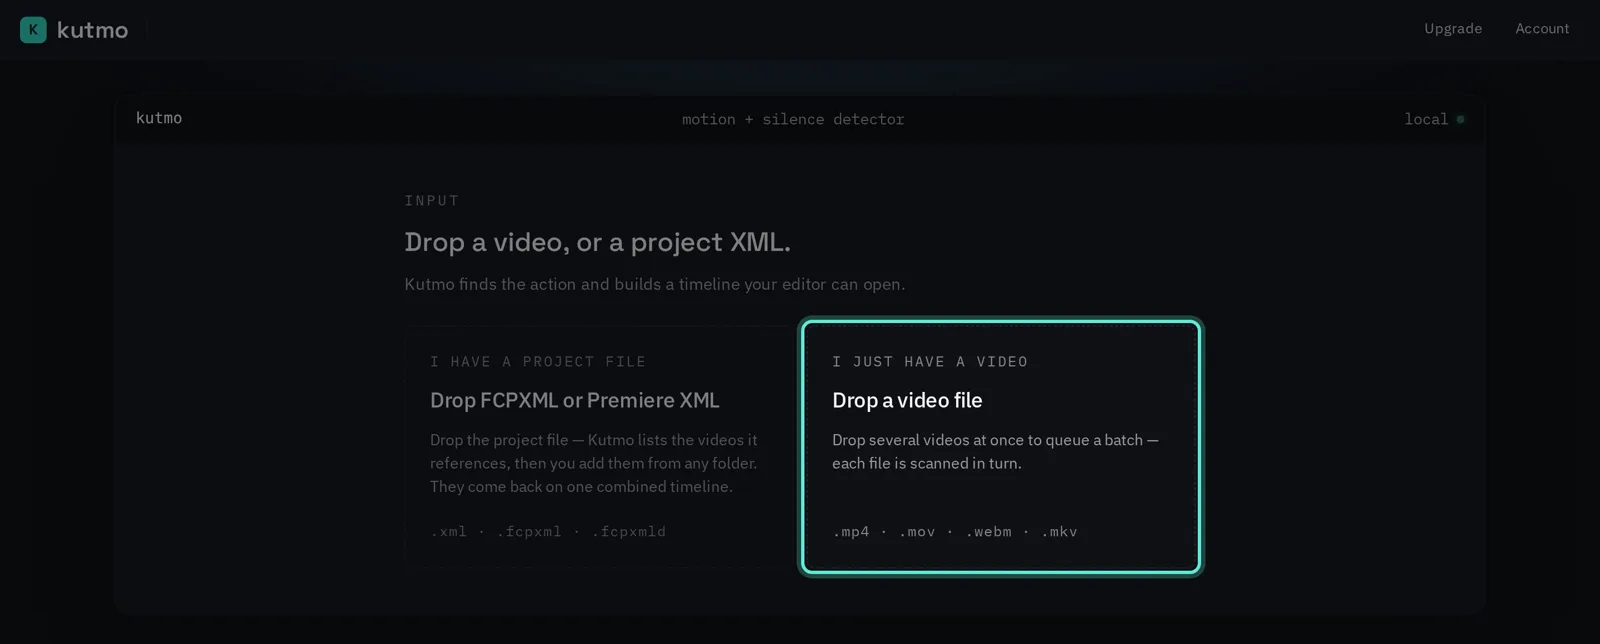
1. Open Kutmo and drop the video
Go to kutmo.com/app and drop the file onto the page. Several files at once become a queue, all cut with the same settings.
2. Pick the mode
- Audio only cuts every silent stretch. Use it for podcasts, interviews, lectures and webcam videos, where the picture barely changes and the talking does the work.
- Trim dead air cuts only where the video is both silent and still. Use it for tutorials and screen recordings, where something useful can be happening on screen while nobody speaks.
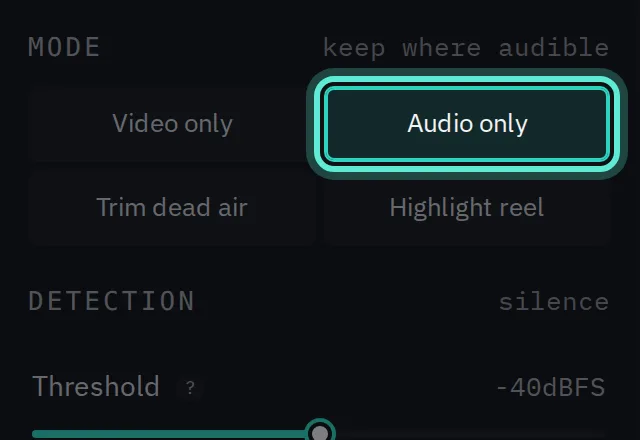
If you are unsure, start with Trim dead air. It never cuts a moment where something is moving.
3. Check the three sound dials
The defaults suit an ordinary recording. Change them only if the first result looks wrong.
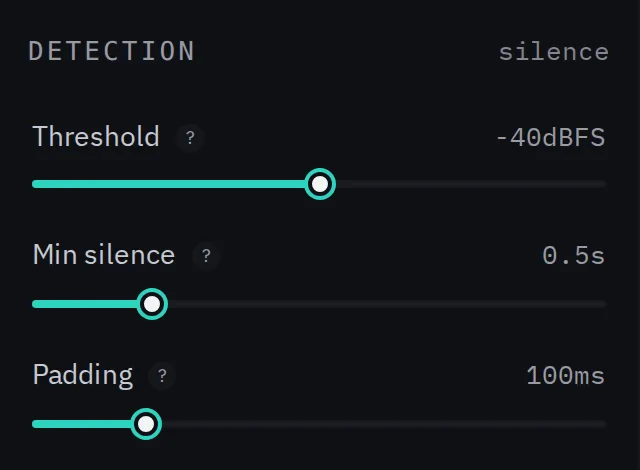
- Threshold (default −40 dBFS) is the line between silence and sound. Recorded in a noisy room? Raise it. Very quiet room? Lower it.
- Min silence (default 0.5 s) is how long a pause must last before it is cut. If speech feels chopped up, raise it so the short pauses inside sentences stay.
- Padding (default 100 ms) keeps a little audio on both sides of every cut. If words sound bitten off, raise it.
4. Detect, then skim the result
Press Detect. When it finishes, the filmstrip shows the kept parts bright and the cut parts dimmed. Drag any cut that landed a frame early or late. Undo covers every nudge, and Re-scan reruns the same file with new settings.
5. Export
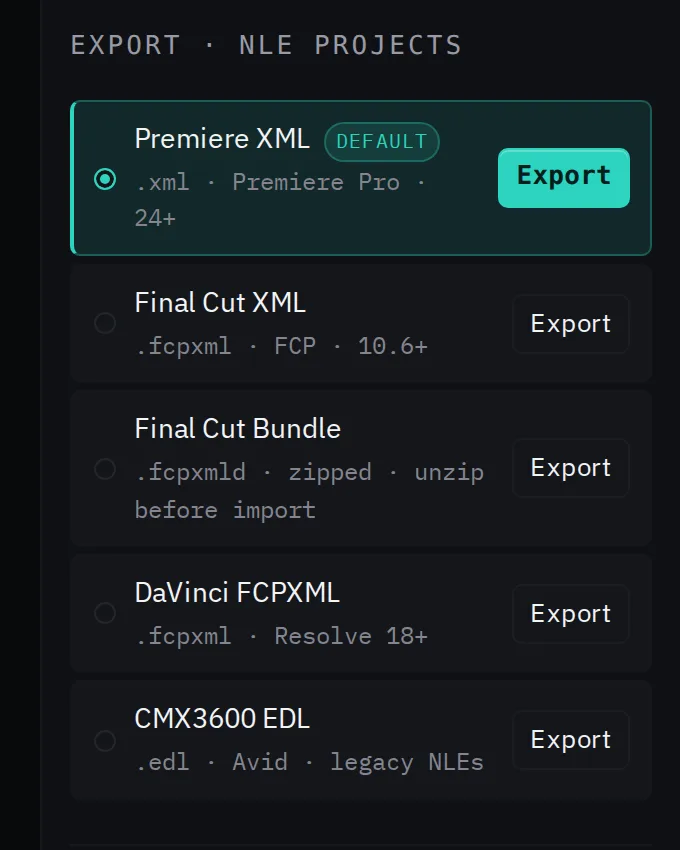
- Premiere XML (.xml) for Premiere Pro.
- DaVinci FCPXML (.fcpxml) for DaVinci Resolve.
- Final Cut XML (.fcpxml) or the bundle (.fcpxmld) for Final Cut Pro.
- CMX3600 EDL (.edl) for Avid and other editors that read EDLs.
- MP4 if you just want the finished video, with no editor.
Not sure which timeline format to pick? See EDL vs FCPXML vs Premiere XML.
6. Open it in your editor
- Premiere Pro: File → Import, then choose the .xml.
- DaVinci Resolve: File → Import → Timeline, then choose the .fcpxml.
- Final Cut Pro: File → Import → XML, then choose the .fcpxml (unzip a .fcpxmld first).
Browsers never tell a website where a file sits on your disk, so the timeline refers to the video by its name. If your editor reports the media as offline or asks where it is, point it at the original file once.
7. Finish the cut
The XML exports remove nothing for good. The kept parts sit on one track and the cut parts on another (in Final Cut, as connected clips above gaps), so you can see every cut and drag any of it back. When you are happy, delete the cut clips and close the gaps with your editor's ripple delete. In Premiere, right-click a gap and choose Ripple Delete.
The EDL holds only the kept parts, already joined end to end. The MP4 is already cut. It copies the original video rather than re-encoding it, so it loses no quality, but each cut moves to the nearest keyframe, which can shift it by up to about a second.
Common questions
Does my video get uploaded? No. Detection, preview and the MP4 export all run in your browser.
How long does it take? Audio only reads the soundtrack, so it is the fastest mode. Modes that also read the picture take longer; a long 4K clip on a modest computer can take several minutes.
Can it also cut parts where nothing moves? Yes. Video only cuts still footage, and Trim dead air and Highlight reel combine picture and sound. The docs explain all four modes.
Try it on your own video. Your first 2 runs need no account, and a free account adds 5 more.